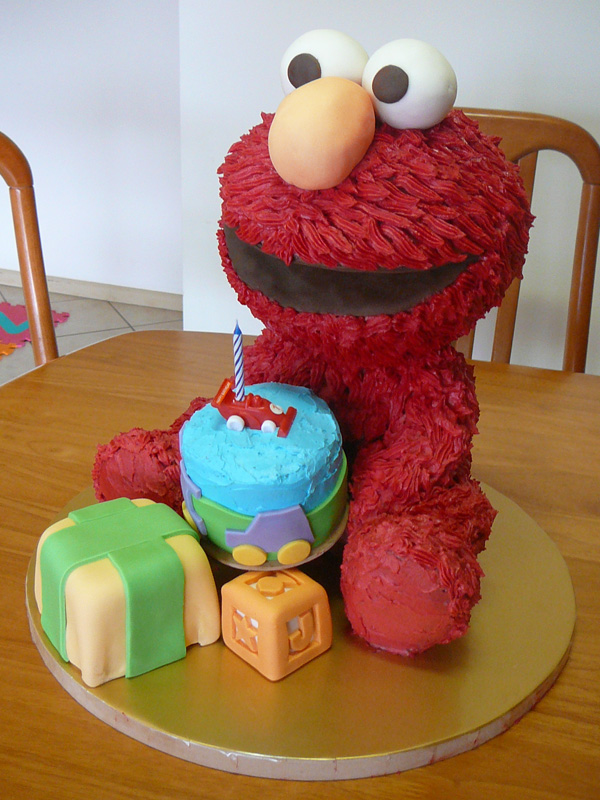
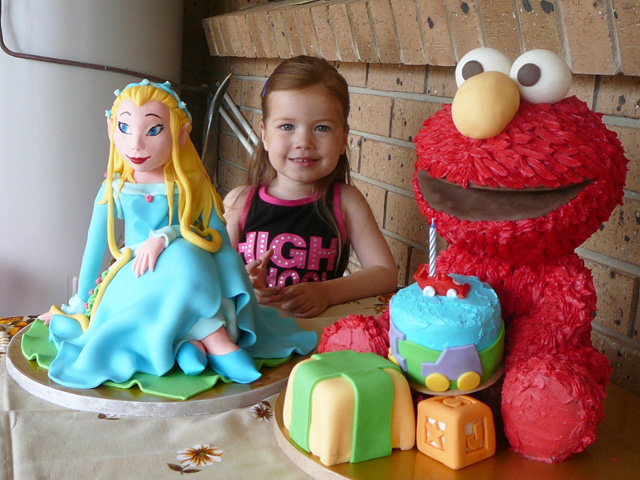
Welcome to part 3 of the making of my nephew’s Elmo cake. In Part 1 I talked about planning the cake, making the stand and making the icing. In Part 2 I talked about making and carving the cakes. In this installment I’ll cover making and molding the rice crispy arms, legs, eyes and nose, and creating the blocks. The final one will cover piping the fur and finishing touches.
We left off last time with the carved cakes in the freezer. I usually put aside whole day for carving the cake, adding rice crispies, and preparing it for final icing, so I’ll carve the cake in the morning and do the rice crispies in the afternoon. Having the cake in the freezer while you make the rice crispies should be long enough to firm up any parts that have started to thaw. Otherwise you can leave the carved cake in the freezer until the next day, or pretty much for as long as you need.
Rice Crispies
Rice Crispies Recipe
I’ve adjusted the recipe for Aussie measurements, and for the 250g bags of marshmallows available here.
Melt 1-2 tablespoons of butter in a large bowl. Add 250g of marshmallows and toss to coat. Microwave for 45 secs, stir and microwave another 45 secs and stir. Microwave another 10-15 secs if necessary to fully melt the marshmallows.
Add 5 cups of rice bubbles and stir until mixed well. Leave to cool for 5-10 minutes before using.
Note: The hotter the marshmallows the harder the rice crispies will be, so if in doubt, it’s better to microwave a bit longer than necessary.
I made the arms and legs from rice crispies. You don’t necessarily need to use rice crispies for the arms and legs, but I’ll talk more about that later. The eyes and nose are also rice crispies covered with fondant. These really are best made with rice crispies. You could also make some or all of the blocks and toys from rice crispies instead of cake. Certainly if you want to make a ball toy, that would be easier with rice crispies than cake. But before I get too ahead of myself, let’s talk about what rice crispies are, and why you would want to put them in a cake?
Rice crispies are a combination of rice bubbles, or some other kind of puffed rice, and melted marshmallows. They’re often used in 3d cakes like this one, for a number of reasons. Rice crispies are light, much lighter than cake. I was quite surprised at first just how heavy some of these cakes end up when you’re talking about feeding 40 people or more. If you want a cake structure that is larger than the amount of cake you need then it’s useful to use rice crispies for some parts just so you can more easily carry it. Also when you’re making tall cakes, or cakes that are top heavy, rice crispies can be used for the top parts so you don’t need such strong support.

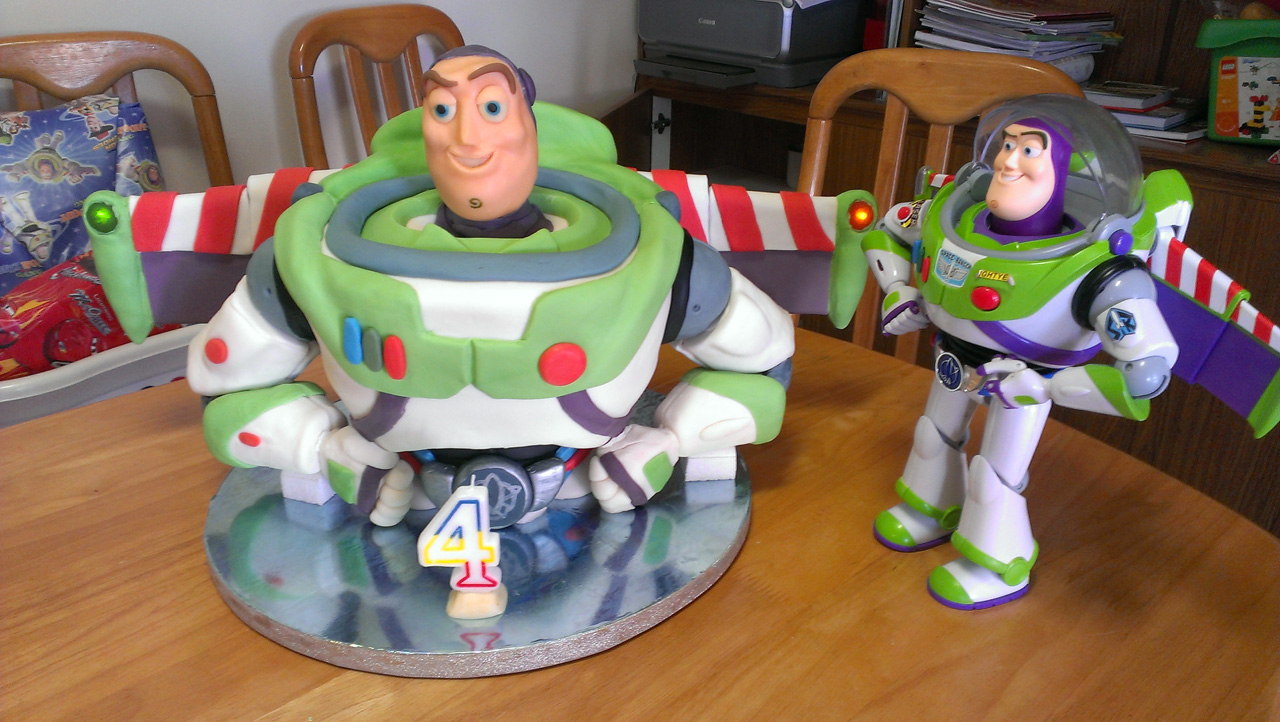 For the last year Seb has been obsessed by Buzz Lightyear, but not just any Buzz Lightyear – Buzz Lightyear from Toy Story 2, with the anti-gravity belt (or the rocket button as Seb calls it). So I’ve known for a long time that this years birthday cake would be Buzz Lightyear.


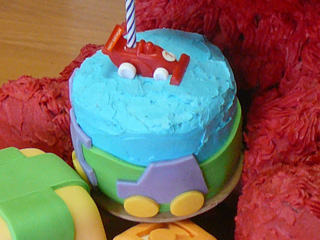 You can really do anything with this cake that you like, decorate it however you want. I based mine on a cute cake I’d seen online, but running out of time, I rushed it. I would have liked to put a bit more time into it. I also had special requirements for this smash cake, as the birthday boy has lots of food allergies. The cake was gluten free, and the butter cream icing was made from special margarine. The fondant was designed so it could be easily pulled off before serving. All these considerations went into the design of the cake, but you can do whatever takes your fancy. It’s quite fun making a mini cake like this.


